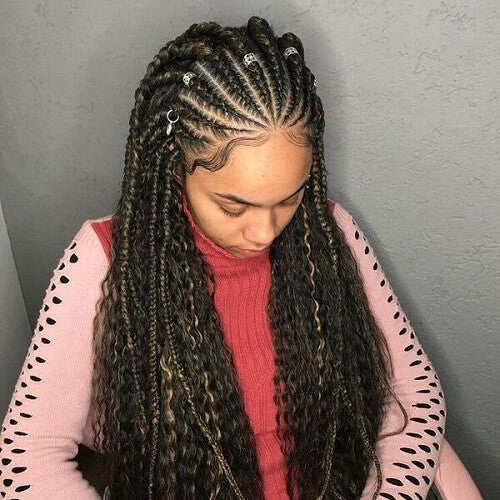
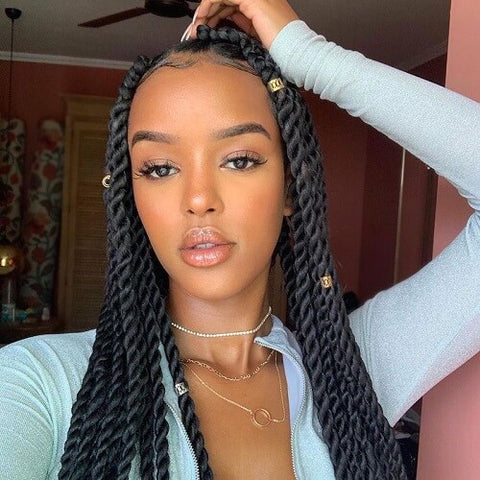
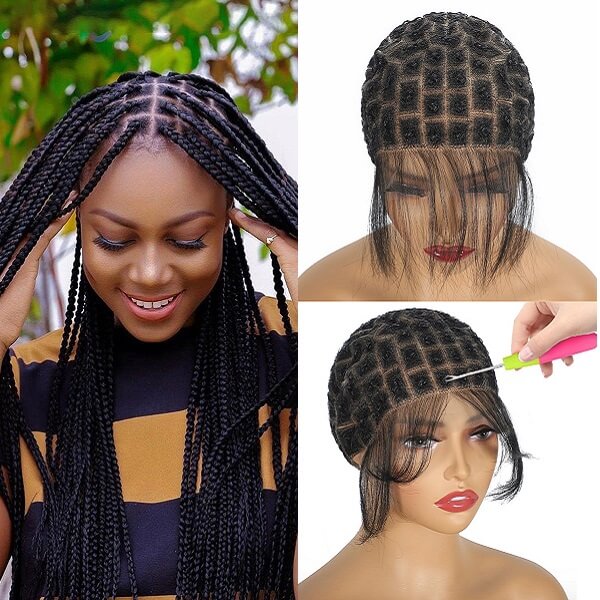
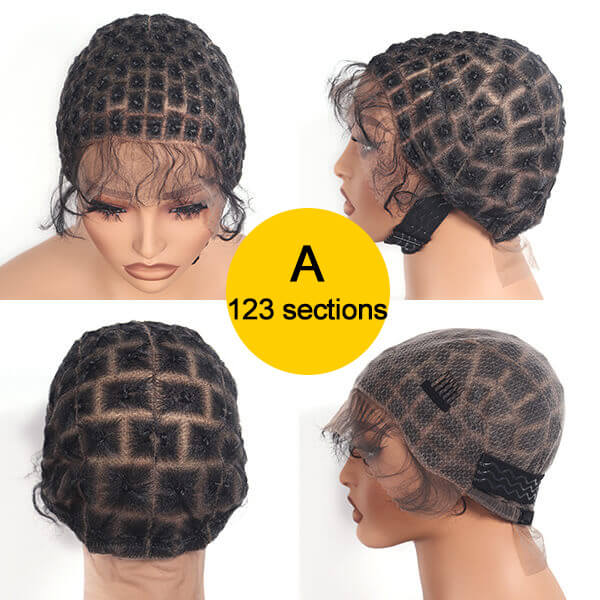
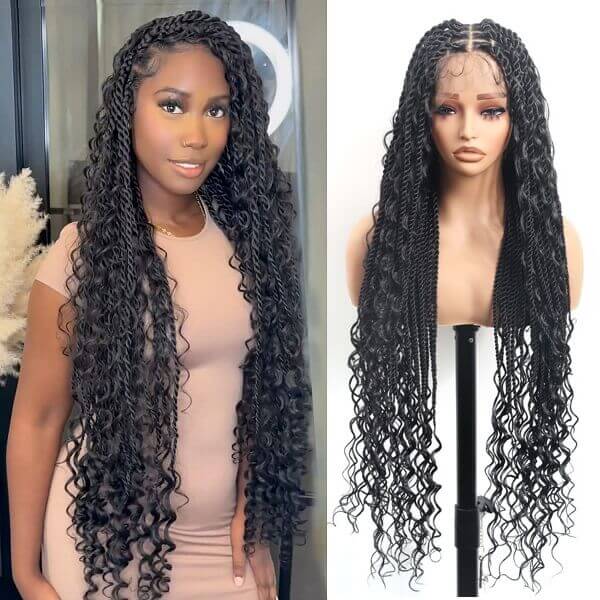
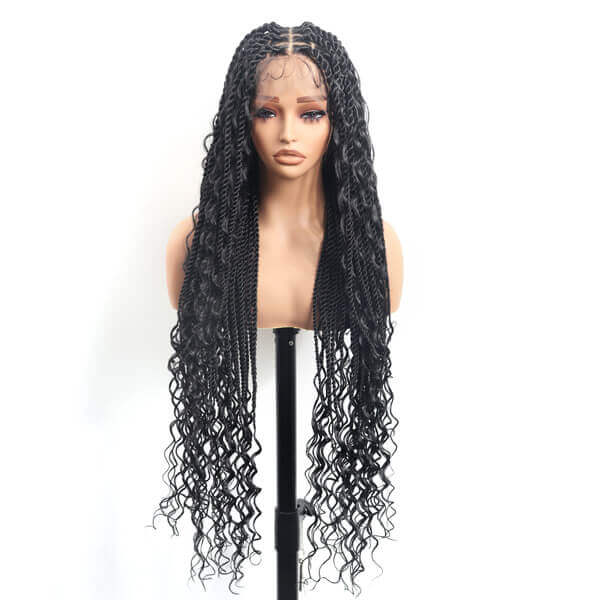
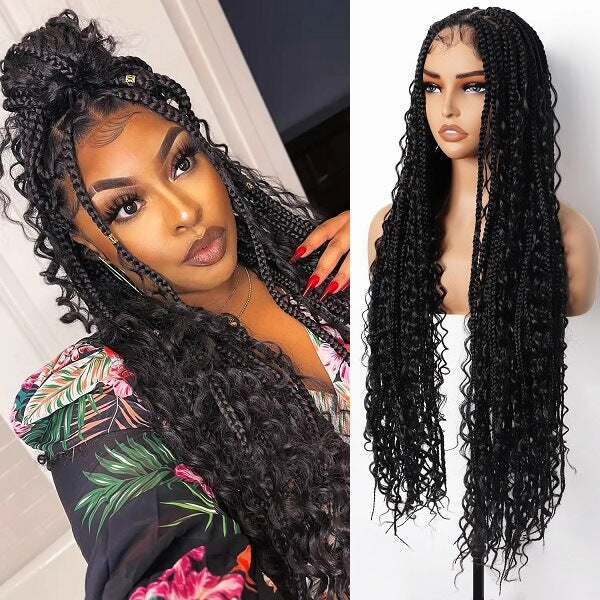
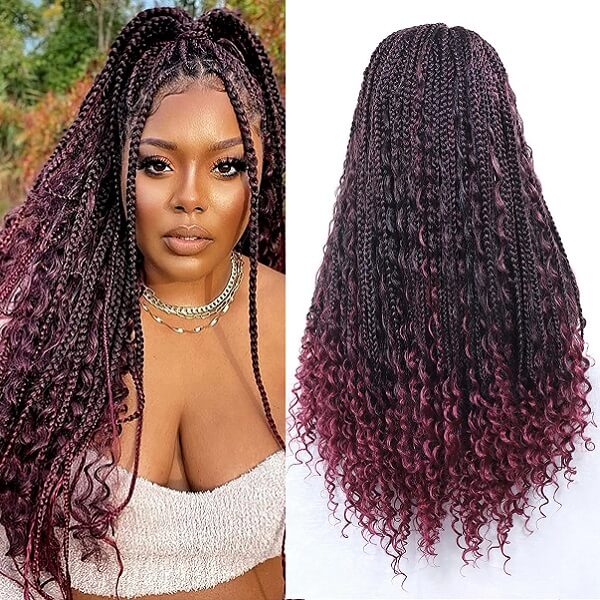
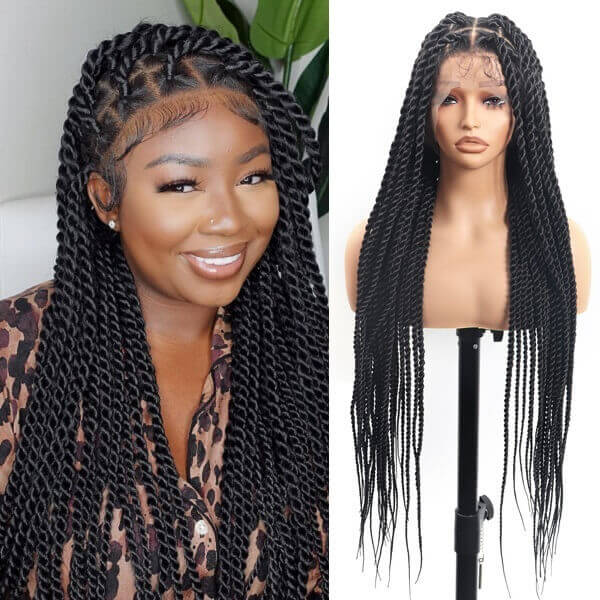
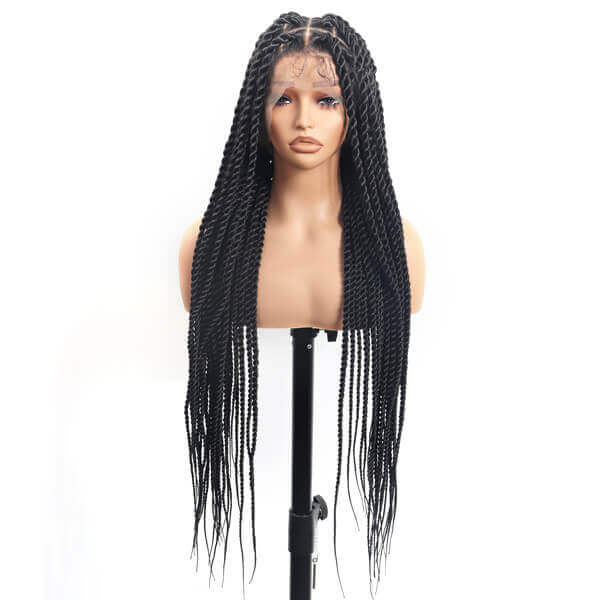
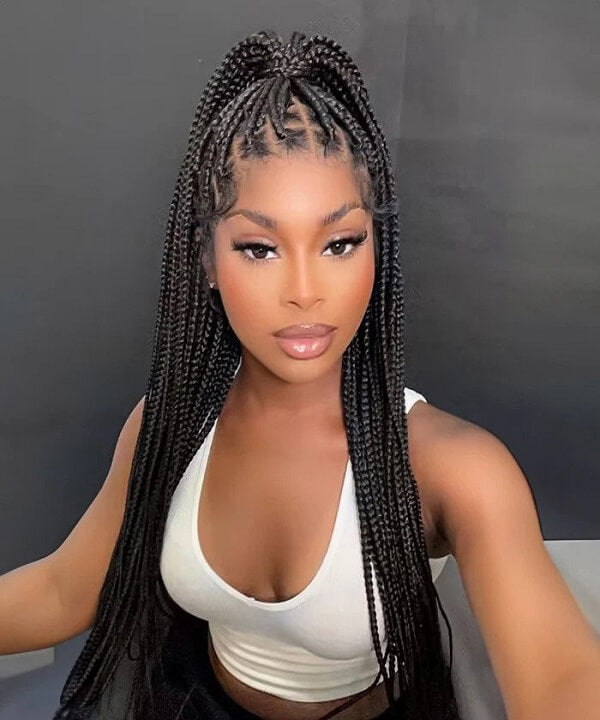
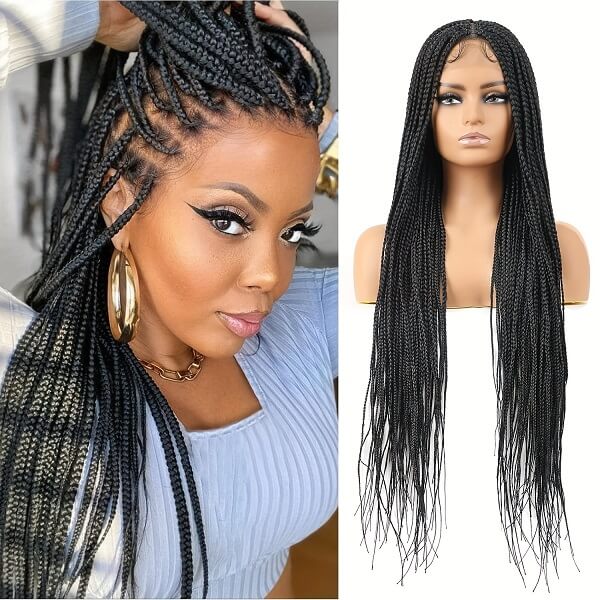
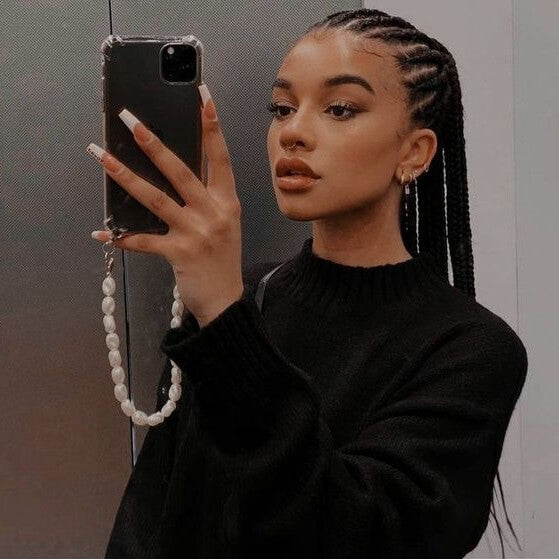
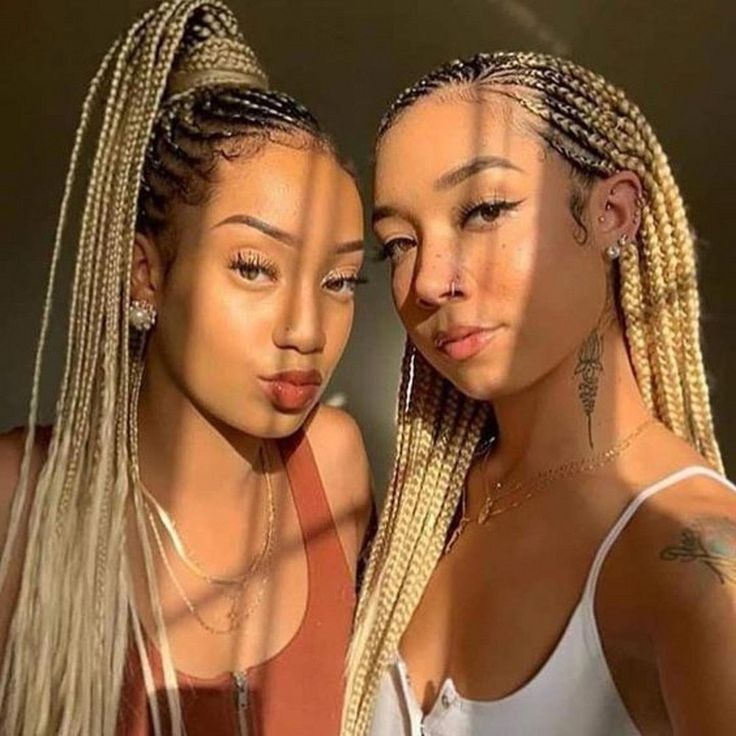
Braided hairstyles are incredibly popular and versatile, especially among Black women, who have long embraced braids as a key part of their beauty and cultural expression. From simple styles to intricate designs, braids have been a go-to hairstyle for centuries, offering a blend of aesthetic appeal and practicality. They look stunning and work well for all hair types and lengths, making them a universal choice.
Braids hold a rich cultural significance, particularly in African communities where they symbolize social status, age, and marital status. Today, while braids continue to serve as a meaningful cultural expression, they've also become a trendy and stylish option for many. Celebrities, influencers, and everyday people are showcasing braids, underscoring their modern appeal and versatility.
In this article, we'll explore various types of braids, focusing on the styles that are popular among Black women. We'll explain what makes each braid unique, how to create them, and offer tips for keeping them looking fabulous. Whether you're new to braiding or a seasoned pro, this guide will help you find the perfect braid to match your style.

Box Braids
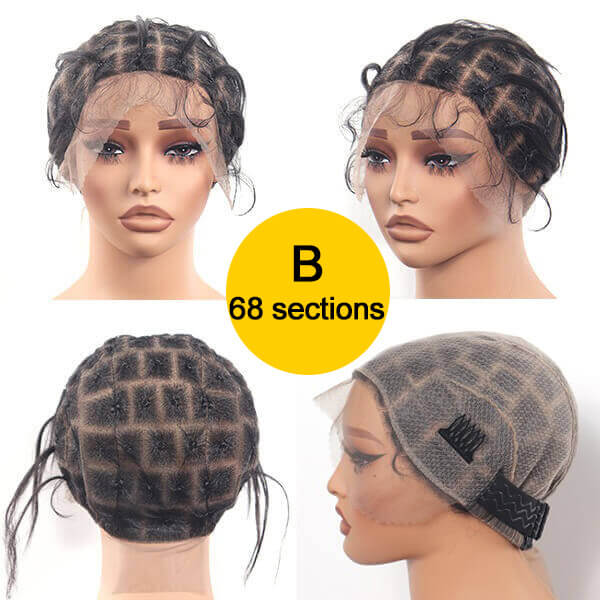
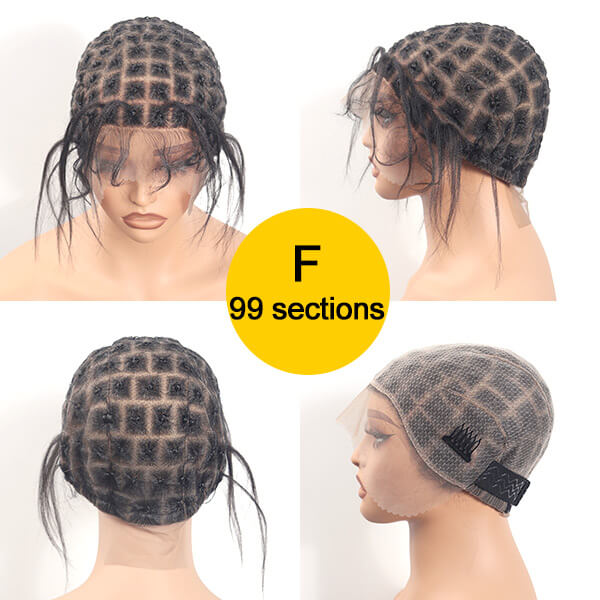
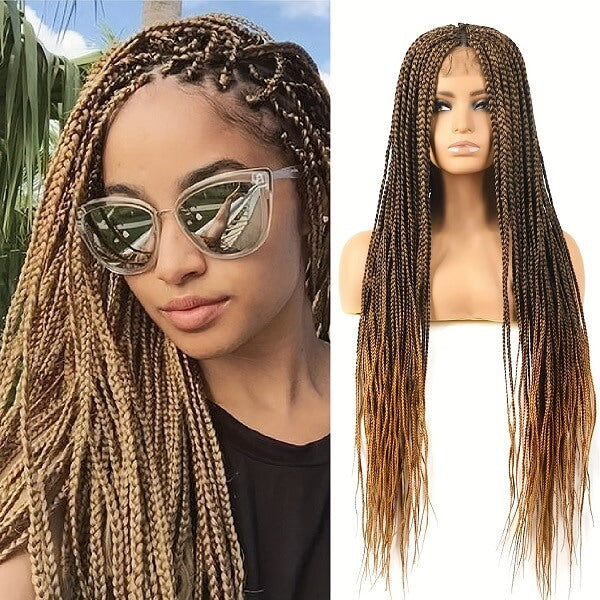
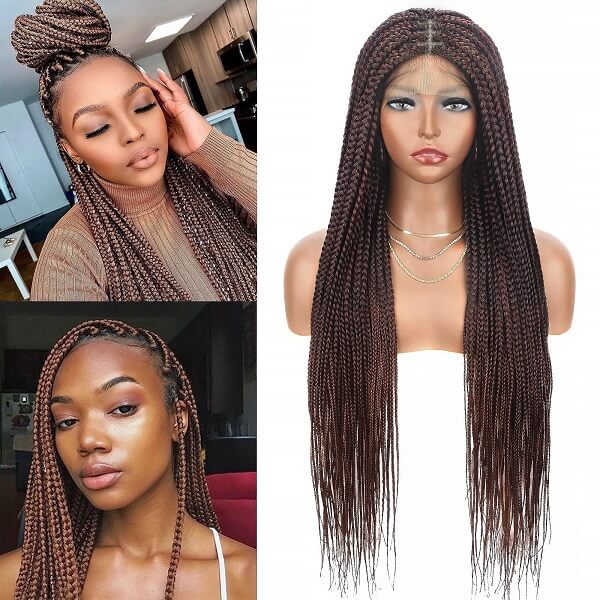
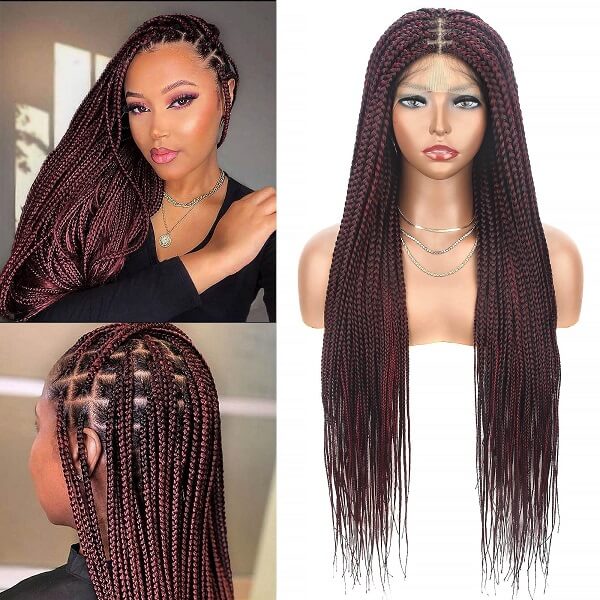
Box braids are one of the most popular and recognizable braided hairstyles. They are created by sectioning the hair into small, square-shaped parts and braiding each section from the root to the end. Box braids are known for their clean, uniform look and can be styled in various lengths and thicknesses, making them a versatile choice for many.
Box Braids Styles
There are several styles of box braids to choose from, each offering a unique look:
- Jumbo Box Braids: These are larger and thicker, making a bold statement and requiring fewer braids overall.
- Micro Box Braids: These are much smaller and thinner, offering a more intricate and delicate appearance.
- Knotless Box Braids: This style starts with your natural hair, gradually adding extensions, resulting in a more natural look with less tension on the scalp.

How to Box Braids: Step-by-Step Guide
Step 1: Prep Your Hair: Start with clean, detangled hair. It's best to deep condition and stretch your hair beforehand.
Step 2: Section Your Hair: Using a rat-tail comb, part your hair into small, square sections. Secure each section with a hair clip or elastic band.
Step 3: Add Extensions (if desired): Take a small amount of braiding hair extension and fold it in half. Place the extension at the root of the sectioned hair and begin braiding by incorporating the natural hair.
Step 4: Braid Down: Continue braiding all the way down to the end of the hair or the extension. Secure the end with a small elastic band if necessary. Continue the process for each section until all of your hair is braided.
Step 5: Finish Up: Apply light oil or styling gel to keep the braids neat and smooth.
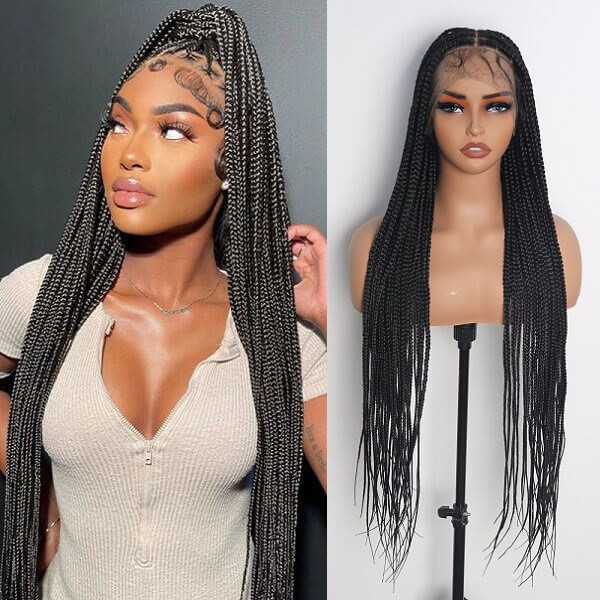
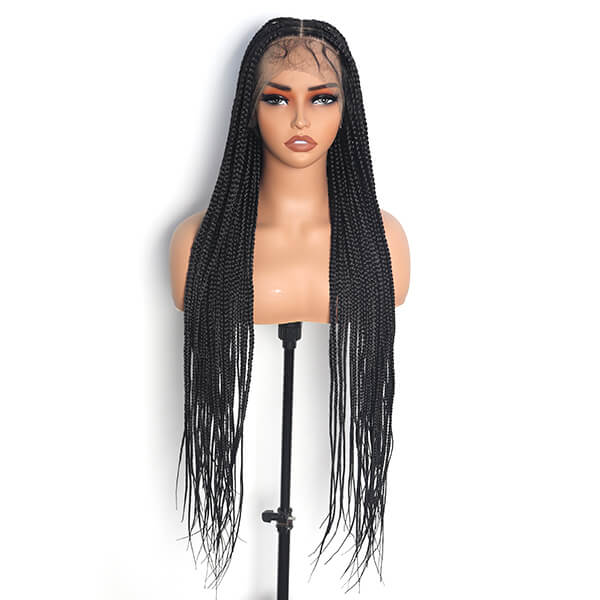
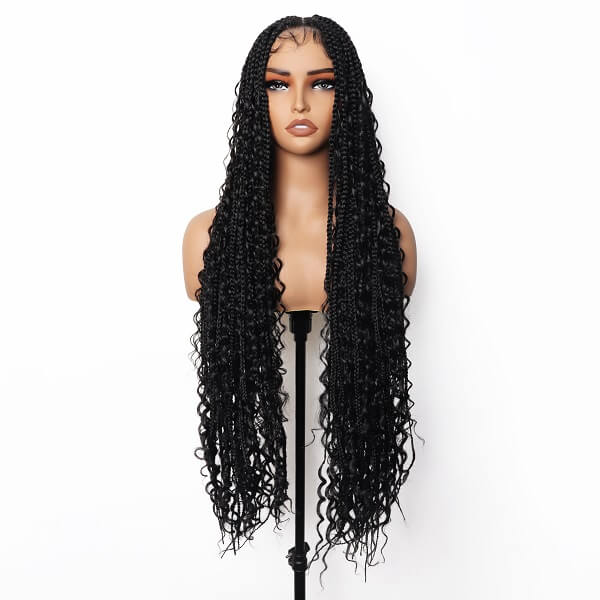
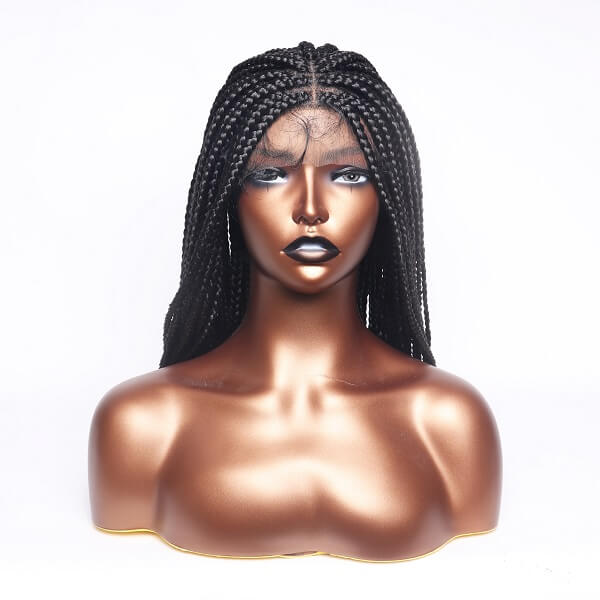
Invisible Knot Full Lace Box Braided Wig:
Check out the box braided wigs available at mybraidedwig.com. This wig features a full lace base with invisible knots, allowing for a natural blending and comfortable wearing. It's perfect for those who desire a convenient and stylish braid look without commitment.
Cornrows
Cornrows are a traditional African braiding style where the hair is braided very close to the scalp in a continuous, raised row. This technique creates a unique, textured look and allows for various intricate patterns and designs. Cornrows are not just a hairstyle but also a cultural symbol, representing heritage, identity, and even social status within many African communities.
Cornrow Braids Styles
There are several popular styles of cornrows, each offering a distinct look:
- Straight-Back Cornrows: These are classic cornrows that go straight back from the forehead to the nape.
- Two Cornrows: Also known as "boxer braids," this style features just two large braids on either side of the head.
- Lemonade Braids: Popularized by Beyoncé, these braids are styled to one side of the head, creating a sweeping, asymmetrical look.
- Feed-In Cornrows: This technique gradually adds extensions to the braid, creating a more natural and seamless appearance.

How to Cornrows: Step-by-Step Guide
Step 1: Prep Your Hair: Start with clean, detangled hair. It's helpful to stretch your hair beforehand for easier braiding.
Step 2: Section Your Hair: Using a rat-tail comb, part your hair into the desired number of sections for the braids.
Step 3: Start Braiding: Begin at the front of your head. Take a small section of hair and split it into three strands. Start braiding by crossing the outer strands under the middle strand.
Step 4: Incorporate More Hair: As you continue braiding, gradually add small sections of hair from the scalp into the braid.
Step 5: Braid Down: Once you reach the nape of your neck, continue braiding the remaining hair all the way to the ends.
Step 6: Secure the Ends: Use small elastic bands to secure the ends of the braids if necessary. Repeat the process for each section until all your hair is braided.
Cornrow Braided Wigs
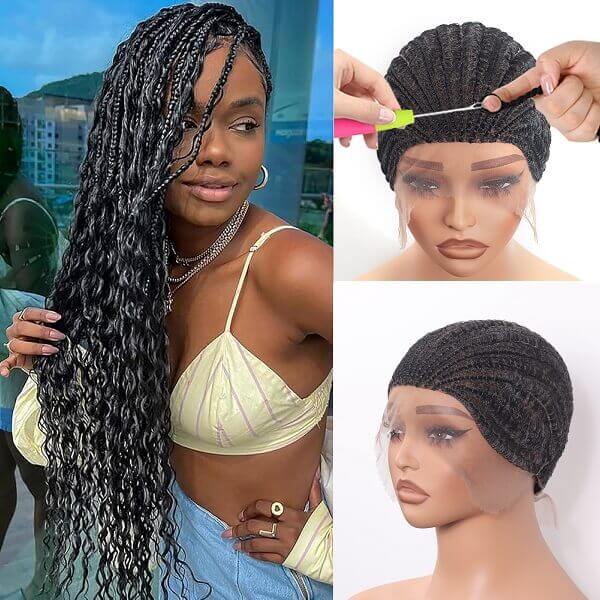
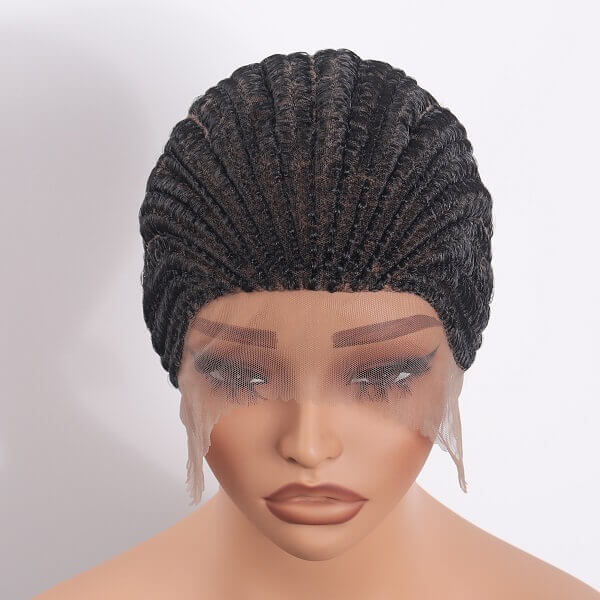
For a quick and easy way to achieve the look of cornrows, consider the cornrow wigs available at mybraidedwig.com. These wigs provide the beauty of cornrows without the time commitment and can be easily worn and removed.

- Full Lace Cornrow Braided Wig:
This braided wig features a full lace base for a natural appearance and comfortable wear. It offers multiple braiding patterns to choose from, including swoopy pattern, middle part, straight-back, etc, allowing you to customize your look.
French Braids
French braids are a classic braiding style where three sections of hair are woven together, starting from the crown and incorporating more hair as you braid down the scalp. This technique creates a smooth, woven look that sits flat against the head. French braid can be done as either a single braid or as pigtail braids.
French Braids Styles
There are several styles and variations of French braids:
- Classic French Braid: This is the traditional style where the braid starts at the crown and continues down the back of the head.
- Side French Braid: This style begins at one side of the head and sweeps across to the other side, creating a diagonal braid.
- Double French Braids: Also known as pigtail braids, this style features two French braids, one on each side of the head.

How to French Braids: Step-by-Step Guide
Step 1: Prep Your Hair: Start with clean, detangled hair. It’s helpful to brush through your hair to ensure it’s smooth and free of knots.
Step 2: Section Your Hair: Take a section of hair from the top center of your head, right at the crown. This will be the starting point of your braid.
Step 3: Divide Into Three Strands: Split the section into three equal strands.
Step 4: Start Braiding: Begin a standard braid by crossing the right strand over the middle strand, then the left strand over the new middle strand.
Step 5: Add More Hair: As you continue braiding, add small sections of hair to each strand before crossing it over the middle. Take hair from the sides of your head and incorporate it into the braid.
Step 6: Continue Braiding: Keep adding hair to each strand as you braid down the back of your head. Ensure the braid is tight and close to the scalp.
Step 7: Braid to the Ends: Once you reach the nape of your neck and there’s no more hair to add, continue with a regular three-strand braid until you reach the ends of your hair.
Step 8: Secure the Braid: Use a hair tie or elastic band to secure the end of the braid.
Step 9: Finish Up: You can gently tug on the braid to loosen it slightly for a fuller look, or keep it tight for a sleek appearance.
Dutch Braids
Dutch braids, often referred to as "reverse French braids" or "inside-out braids," are similar to French braids but with a notable difference in technique. Instead of crossing the strands over each other, the strands are crossed under, creating a braid that stands out from the scalp rather than lying flat. This technique gives Dutch braids a more defined and prominent appearance. Unlike cornrow braids, which are often smaller and intricately patterned, Dutch braids are typically larger and less numerous, making them quicker and easier to style.

Dutch Braids Styles
There are several stylish variations of Dutch braids:
- Double Dutch Braids: This style features two Dutch braids, one on each side of the head, creating a symmetrical and sporty look.
- Dutch Braid Crown: This elegant style involves braiding the hair around the head in a circular pattern, resembling a crown.
- Dutch Braid Ponytail: A single or double Dutch braid leading into a ponytail for a chic and practical style.
Fishtail Braids
Fishtail braids are a stunning and intricate braiding style that mimics the look of a fish's tail. Unlike traditional braids, which use three strands, fishtail braids use two strands, creating a detailed and elegant weave. This technique results in a more intricate and textured appearance, making fishtail braids a favorite for both casual and formal occasions.

Fishtail Braids Styles
There are various styles of fishtail braids to choose from:
- Messy Fishtail Braid: This relaxed style is intentionally tousled for a casual, bohemian look.
- Side Fishtail Braid: A single fishtail braid that drapes over one shoulder, perfect for an asymmetrical and stylish appearance.
- Double Fishtail Braids: Two fishtail braids, one on each side of the head, for a symmetrical and sporty look.
How to Fishtail Braids: Step-by-Step Guide
Step 1: Prep Your Hair: Start with clean, detangled hair. It can be helpful to lightly dampen your hair or add some texturizing spray for better grip.
Step 2: Divide Your Hair: Gather all your hair to one side if you want a side braid or keep it at the back for a traditional fishtail braid. Split your hair into two equal sections.
Step 3: Begin the Braid: Take a small piece of hair from the outer edge of the left section and cross it over to the right section. Then, take a small piece from the outer edge of the right section and cross it over to the left section.
Step 4: Continue Weaving: Repeat the process, alternating sides. Ensure you are consistently taking small sections from the outer edges and crossing them over to the opposite side. The smaller the sections, the more intricate the braid will look.
Step 5: Maintain Tension: Keep the braid tight and close to the scalp as you work your way down. This helps create a neat and defined braid.
Step 6: Braid to the Ends: Continue crossing small sections over from one side to the other until you reach the ends of your hair. Use a hair tie or elastic band to secure the end of the braid.
Step 7: Finishing Touches: Gently tug on the edges of the braid to loosen it slightly and create more volume and texture. This step is particularly important for achieving the "messy" fishtail braid look.
Goddess Braids
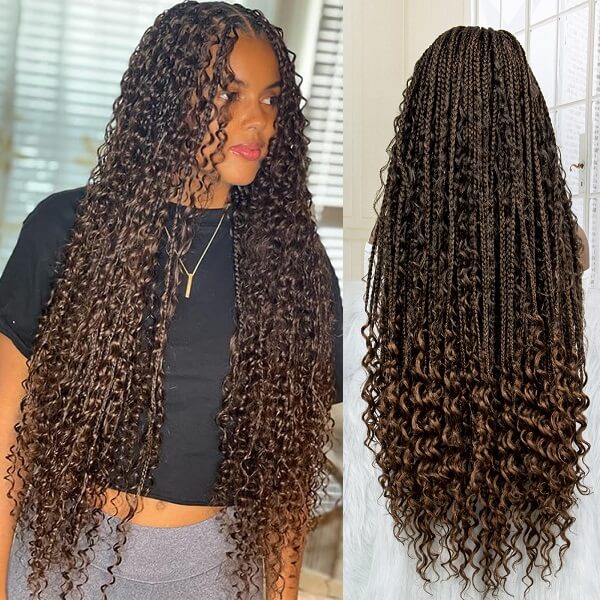
Goddess braids are a stunning and luxurious variation of box braids that feature curly ends, creating a voluminous and textured look. These braids combine the classic box braid technique with soft, curly extensions at the ends, giving them a romantic and elegant feel. The result is a beautiful hairstyle that offers both drama and sophistication, perfect for making a statement.
Goddess Braids Styles
There are several styles of goddess braids to consider:
- Thick Goddess Braids: These braids are larger and more prominent, making a bold statement. They can be styled in various ways, including updos or left down for a striking look.
- Goddess Box Braids: This style features classic box braids with curly ends, combining the sleekness of box braids with the playful texture of curls.
- Goddess Braids Updo: Incorporating goddess braids into an updo can create an elegant and refined appearance, ideal for formal events.
- Goddess Braids with Accessories: Adding beads, cuffs, or other adornments can enhance the luxurious look of goddess braids, making them even more eye-catching.

Maintenance Tips For Goddess Braids
To keep goddess braids looking fresh and maintain their luxurious appearance, follow these tips:
- Moisturize Your Hair: Apply a light leave-in conditioner or oil to the curly ends to keep them hydrated and prevent frizz.
- Avoid Excessive Manipulation: Minimize touching or pulling on the braids to prevent frizz and tangling.
- Protect at Night: Use a silk or satin scarf or bonnet to protect your braids while you sleep. This helps reduce friction and maintains the curls' smoothness.
- Wash with Care: When washing, use a sulfate-free shampoo and avoid scrubbing the braids too harshly. Focus on cleaning your scalp and letting the water gently run through the braids.
- Refresh the Curls: If the curls start to lose their shape, use a curl refresher spray or a small amount of mousse to redefine them.
Goddess Braided Wigs
Explore the luxurious goddess braided wigs available at mybraidedwig.com:
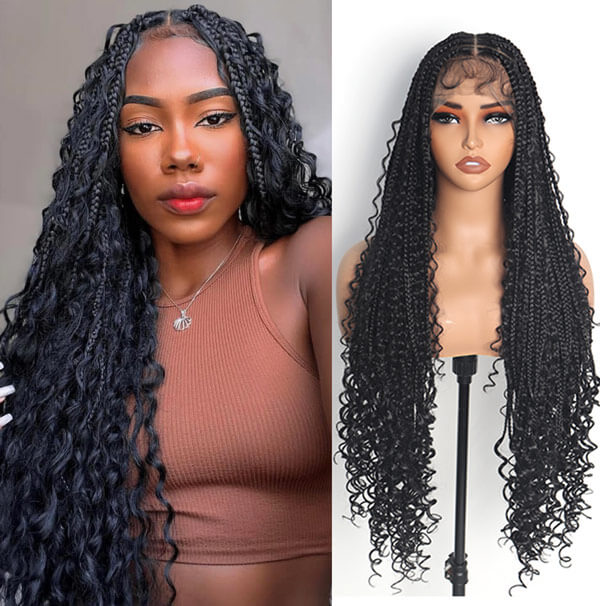
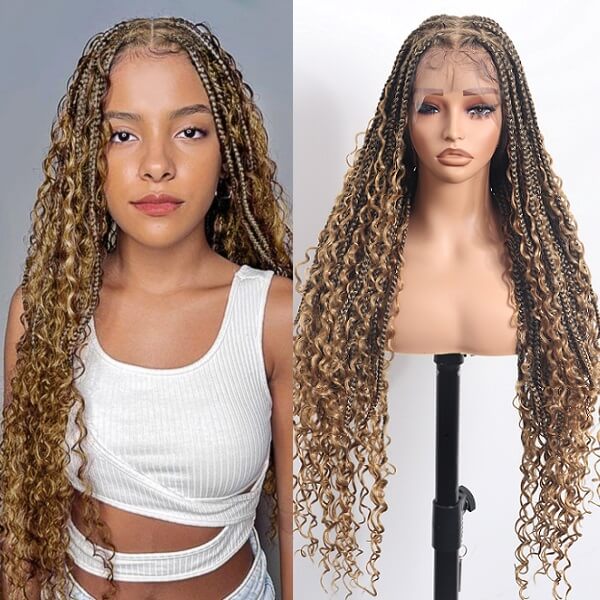
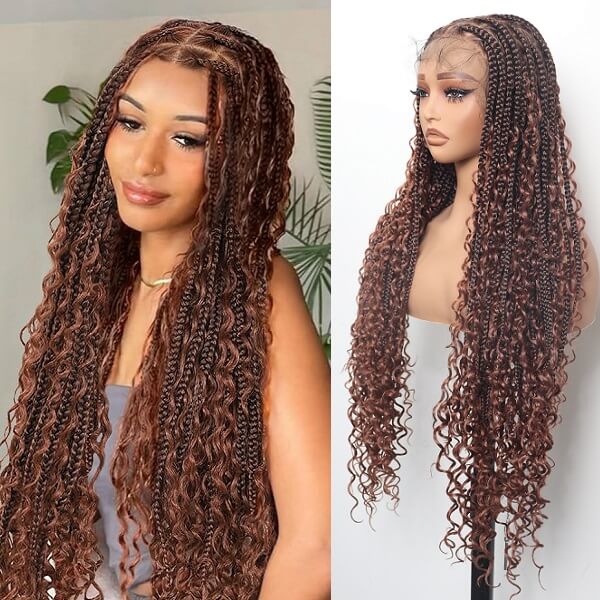
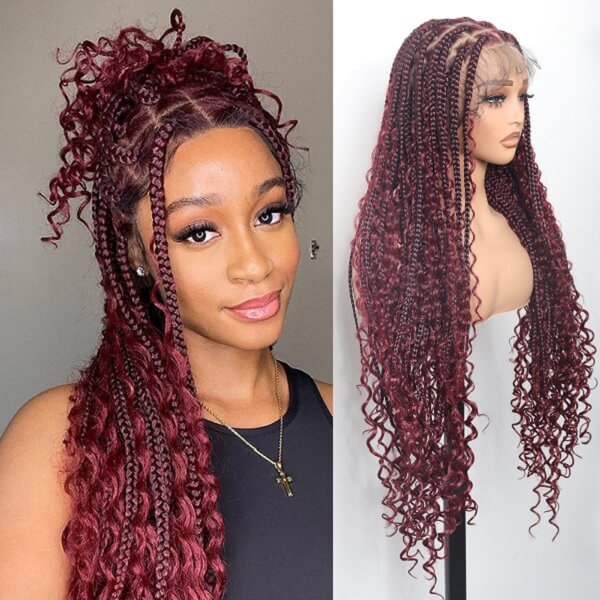
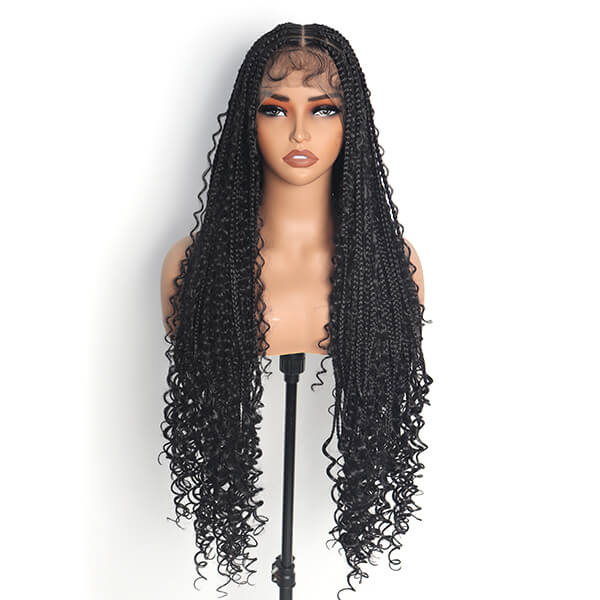
- Box braided wig with curly ends
This full lace wig features invisible knots lace for a natural appearance and comfortable wearing. The soft and tangle-less curly ends add movement and texture to the look, making it a standout choice.
- Bohemian box braided wig
This knotless boho box braided wig features soft and skin-melted lace for full coverage, providing a natural look and comfortable wearing. The tangle-free curls naturally flowing with the braids add volume and a laid-back touch, perfect for a casual yet stylish appearance.
Fulani Braids
Fulani braids are a traditional African hairstyle named after the Fulani people of West Africa. These braids are characterized by their intricate patterns, often incorporating beads, cowrie shells, and other decorative elements. The style typically features a central braid or twist along with cornrows braided close to the scalp and flowing into free-hanging braids. Fulani braids are not only a beautiful expression of cultural heritage but have also become a popular and fashionable hairstyle worldwide.
Fulani Braids Styles
There are several popular styles of Fulani braids to choose from:
- Beads and Accessories: This style includes adding beads, cowrie shells, or other accessories to the braids for a traditional and embellished look.
- Middle Part Fulani Braids: A central part with symmetrical braids on either side, often adorned with beads and accessories.
- Side Part Fulani Braids: A stylish variation with a side part, creating an asymmetrical and trendy appearance.
How to Fulani Braids: Step-by-Step Guide
Step 1: Prep Your Hair: Start with clean, detangled hair. Apply a leave-in conditioner and oil to keep your hair moisturized.
Step 2: Part Your Hair: Create a middle part or side part, depending on your desired style. Use clips to section off the hair you will braid.
Step 3: Begin Braiding: Start with the central braid. Take a small section of hair and create a cornrow braid, braiding close to the scalp. Continue this process for each section, following the pattern you want.
Step 4: Add Beads and Accessories: As you braid, incorporate beads and accessories by threading them onto the hair strands before continuing to braid. Secure them in place with small rubber bands.
Step 5: Braid to the Ends: Continue braiding each section to the ends of the hair. You can leave the ends loose or braid them all the way down.
Step 6: Secure the Ends: Use small rubber bands to secure the ends of each braid.
Step 7: Finishing Touches: Adjust the beads and accessories as needed, and ensure the braids are smooth and neat.
Fulani Braided Wigs
Timeless and classic straight-back Fulani braids, 13x4 lace front for a natural hairline. These wigs are 26 inches long, not too heavy, and come with and without string adornments for your choice.
Senegalese Twists
Senegalese twists are a popular protective hairstyle originating from Senegal in West Africa. These twists are created using a two-strand twisting technique with synthetic or natural hair extensions, resulting in a smooth and sleek texture. The twists are typically tighter and more defined compared to other twist styles, giving them a polished and elegant appearance.
Senegalese Twists Styles
There are various styles of Senegalese twists to consider:
- Long Twists: These twists extend past the shoulders or even to the waist, offering a dramatic and eye-catching look.
- Short Twists: A more manageable length, short twists are great for those who prefer a lighter, less cumbersome style.
- Medium-Length Twists: Falling between the long and short styles, medium-length twists provide a balanced look that is versatile and stylish.
How to Senegalese Twists: Step-by-Step Guide
Step 1: Prep Your Hair: Start with clean, detangled hair. Apply a leave-in conditioner and oil to keep your hair moisturized.
Step 2: Section Your Hair: Divide your hair into small, even sections. The size of the sections will determine the thickness of your twists.
Step 3: Attach the Extensions: Take a section of hair and fold the extension in half. Place the extension at the root of your natural hair and begin twisting. Ensure that the extension is securely attached by twisting it tightly at the base.
Step 4: Twist Your Hair: Divide the sectioned hair and extension into two equal parts. Twist each part around the other, ensuring that the twists are tight and smooth. Continue twisting down to the ends of the hair.
Step 5: Seal the Ends: Once you reach the ends, you can seal the twists by dipping them in hot water or using a small amount of hair glue to prevent unraveling.
Step 6: Repeat the Process: Continue this process for each section of hair until your entire head is covered in twists.
Step 7: Finishing Touches: Trim any stray hairs and ensure that all twists are neat and uniform. You can also accessorize your twists with beads or cuffs for added style.
Senegalese twists are a versatile and stylish protective hairstyle that can last for several weeks with proper care. They offer a sleek and polished look while protecting your natural hair from damage.

Passion Twists
Passion Twists are a modern and trendy protective hairstyle created by hairstylist Kailyn Rogers in 2018. They are similar to Senegalese twists but are done with curly hair extensions, giving them a unique and bohemian look. The twists are soft, lightweight, and have a natural, springy texture that adds movement and volume to the hair.
Passion Twists Styles
There are several styles of passion twists to choose from:
- Long Passion Twists: These extend past the shoulders or down to the waist, providing a dramatic and eye-catching look.
- Short Passion Twists: A more manageable length that offers a playful and chic appearance.
- Medium-Length Passion Twists: Falling between long and short, medium-length twists are versatile and stylish.
- Half-Up, Half-Down: The top half of the twists is pulled up into a bun or ponytail, while the rest hang loose for a trendy look.
- Passion Twists Updo: Styling the twists into an elegant updo for special occasions.
- Colored Passion Twists: Adding color to the twists, either through ombre effects or bold, vibrant hues.

How to Passion Twists: Step-by-Step Guide
Step 1: Prep Your Hair: Start with clean, detangled hair. Apply a leave-in conditioner and oil to keep your hair moisturized and protect it from the extensions.
Step 2: Section Your Hair: Divide your hair into small, even sections. The size of the sections will determine the thickness of your twists.
Step 3: Attach the Extensions: Take a section of hair and fold the curly extension in half. Place the extension at the root of your natural hair and begin twisting. Ensure that the extension is securely attached by twisting it tightly at the base.
Step 4: Twist Your Hair: Divide the sectioned hair and extension into two equal parts. Twist each part around the other, ensuring that the twists are tight at the base and looser as you move down to create the signature passion twist look.
Step 5: Seal the Ends: Once you reach the ends, you can seal the twists by dipping them in hot water or using a small amount of hair glue to prevent unraveling.
Step 6: Repeat the Process: Continue this process for each section of hair until your entire head is covered in twists.
Step 7: Finishing Touches: Trim any stray hairs and ensure that all twists are neat and uniform. You can also accessorize your twists with beads or cuffs for added style.
Passion Twists Wigs
Skin-melted full double lace provides a natural look and enhances durability. The spring twists mimic the natural curly pattern, adding movement and texture to the look. Available in multiple colors for choice, including burgundy, brown, blonde, and natural black.
Locs
Locs, also known as dreadlocks, are a distinctive and versatile hairstyle where the hair is allowed to mat and form into locked sections. The unique texture of locs is achieved through a process of twisting, locking, and sometimes combining sections of hair, resulting in a natural, textured look. Locs can be created with various techniques and can range from smooth and uniform to more free-form and textured.
Locs Styles
There are several popular styles of locs to choose from:
- Sisterlocks: A type of locs that are very fine and uniform, typically installed with a specialized technique and tool.
- Freeform Locs: These locs are allowed to grow naturally without much manipulation, resulting in a more organic and varied texture.
- Microlocs: Very thin locs that can give a detailed and delicate appearance.

How to Two-Strand Locs: Step-by-Step Guide
Step 1: Prep Your Hair: Start with clean, damp hair. Apply a leave-in conditioner and a light oil to keep your hair moisturized.
Step 2: Section Your Hair: Divide your hair into small, even sections. The size of the sections will determine the thickness of your locs.
Step 3: Create Two-Strand Twists: Take a section of hair and divide it into two equal parts. Twist each part around the other tightly from the root to the end of the hair.
Step 4: Secure the Ends: Once you reach the end of the twist, secure it with a small rubber band or by using a bit of hair gel to prevent unraveling.
Step 5: Repeat the Process: Continue twisting and securing each section of hair until your entire head is covered in two-strand locs.
Step 6: Maintenance: Regularly retwist the roots as needed to maintain the neatness of your locs. You can also palm roll the locs to keep them uniform and smooth.
Locs Braided Wig
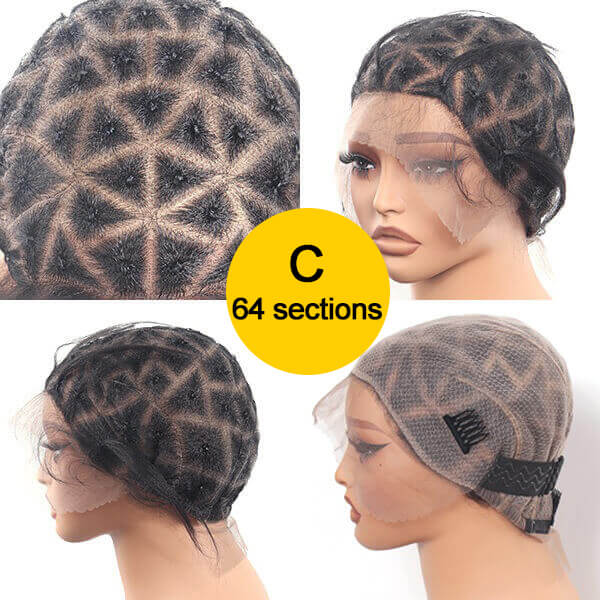
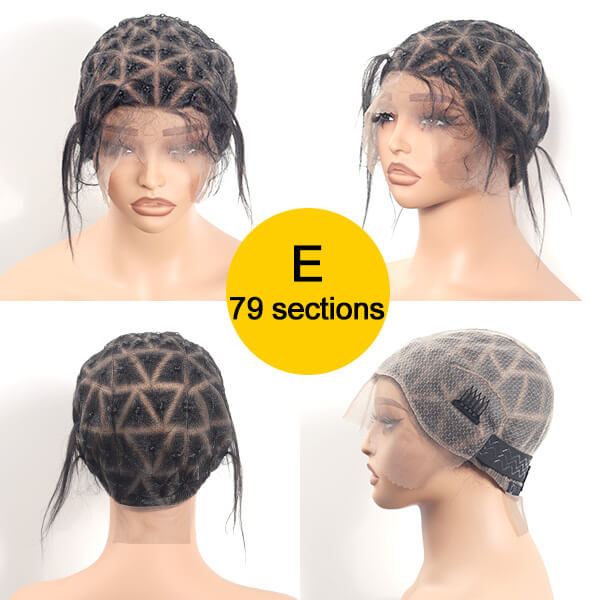
This wig features a triangle part for a unique look and curly ends that add a bohemian flair. The full double lace provides natural blending and enhances durability, making it both stylish and practical.
Conclusion
Braids are more than just a hairstyle; they are a versatile and beautiful expression of personal style, especially for Black women. From the classic elegance of box braids to the intricate details of fishtail braids and the luxurious look of goddess braids, each braid type offers something unique and meaningful. Whether you’re drawn to the sleek lines of cornrows or the playful twists of passion twists, there’s a braid style that perfectly complements and enhances your natural beauty.
For Black women, braids not only offer a stunning aesthetic but also celebrate cultural heritage and versatility. Embrace the endless possibilities by exploring and experimenting with different braid styles. Each type of braid can effortlessly transform your look and highlight your style.
Ready to find your perfect braided look? Visit mybraidedwig.com to discover a stunning range of braided wigs designed specifically for Black women. Your next favorite braid is just a click away!
Related Articles:
50 Chic Box Braids Hairstyles For Black Women

