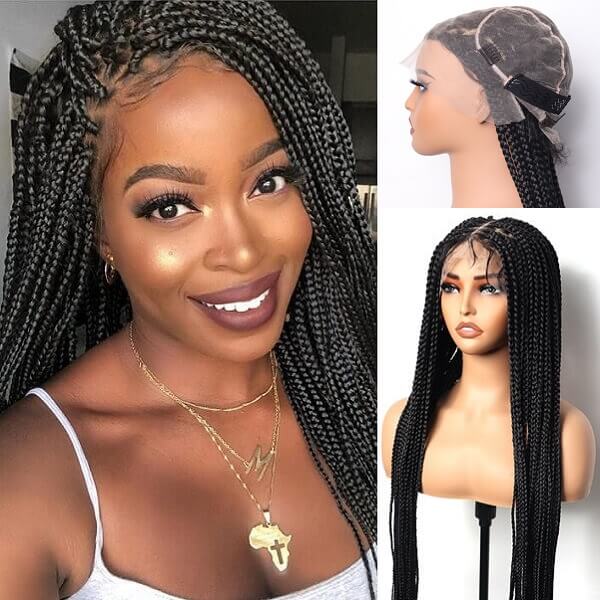
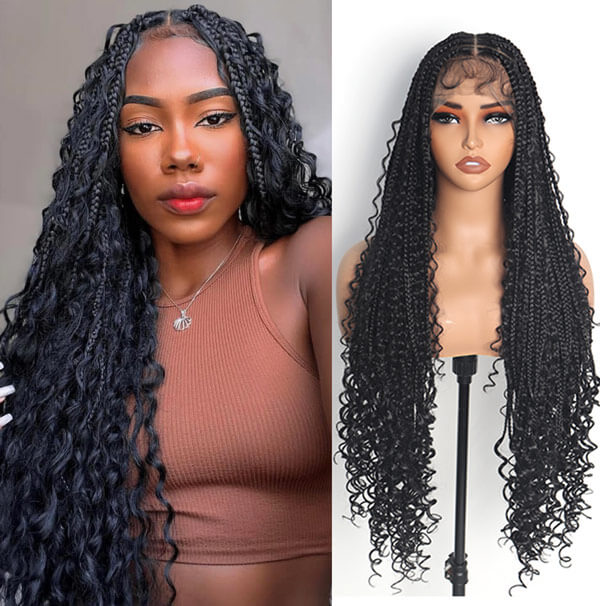
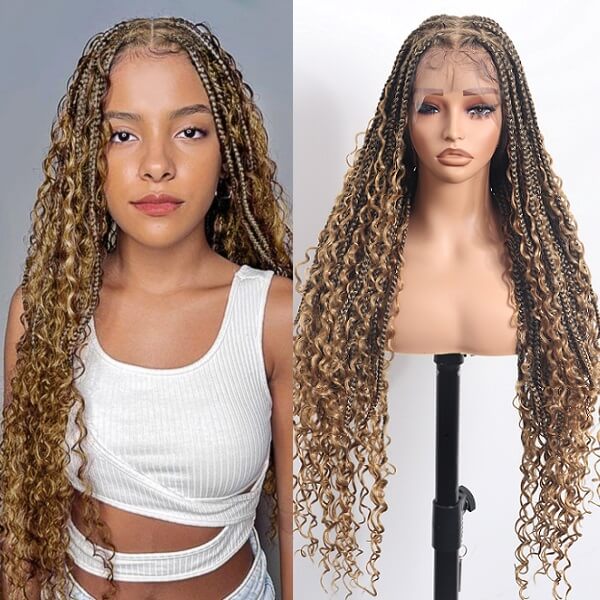
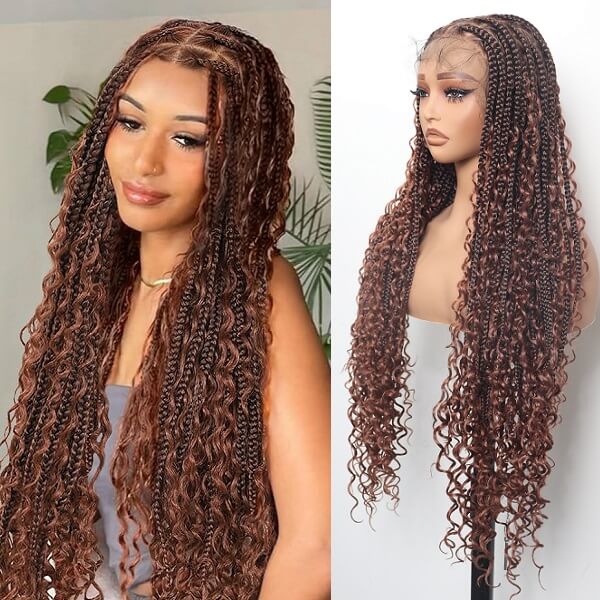
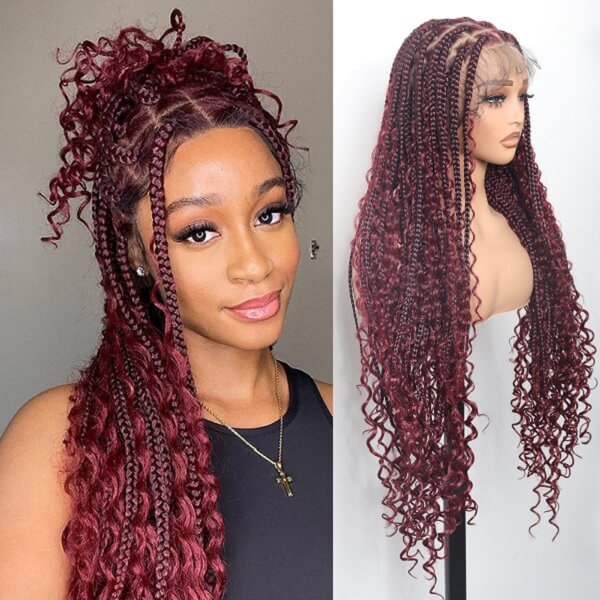
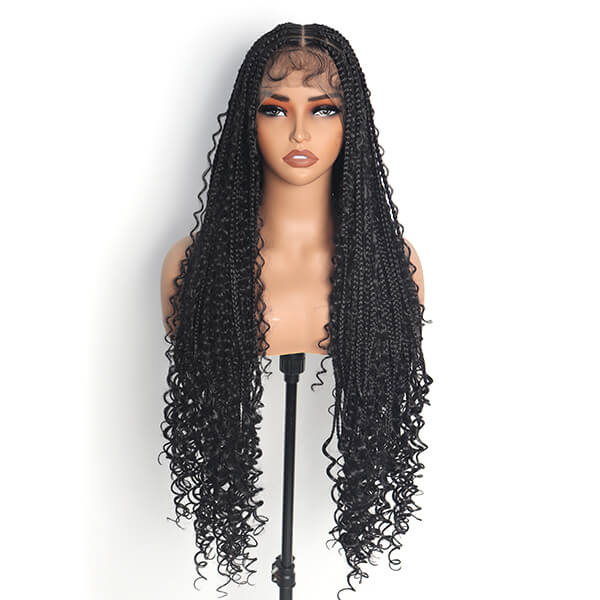
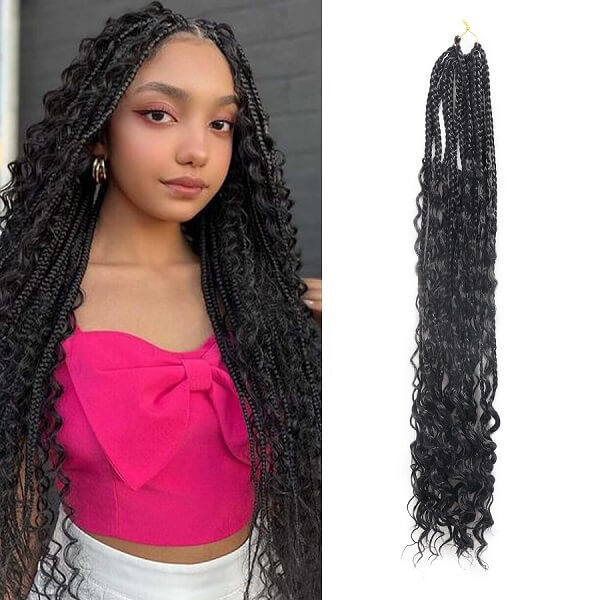
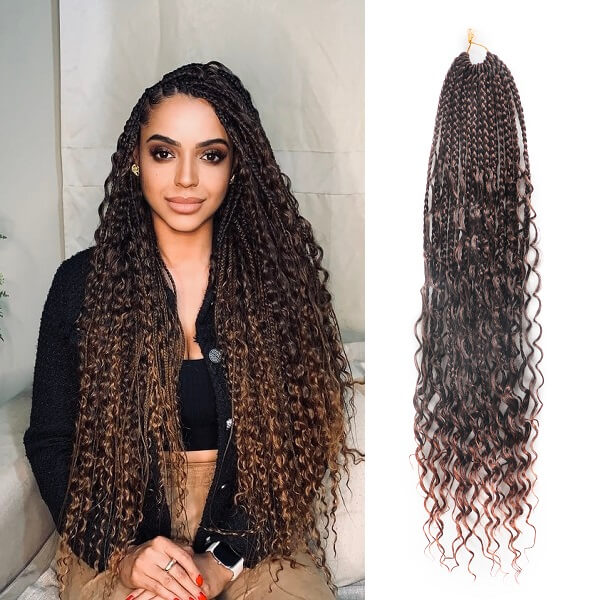
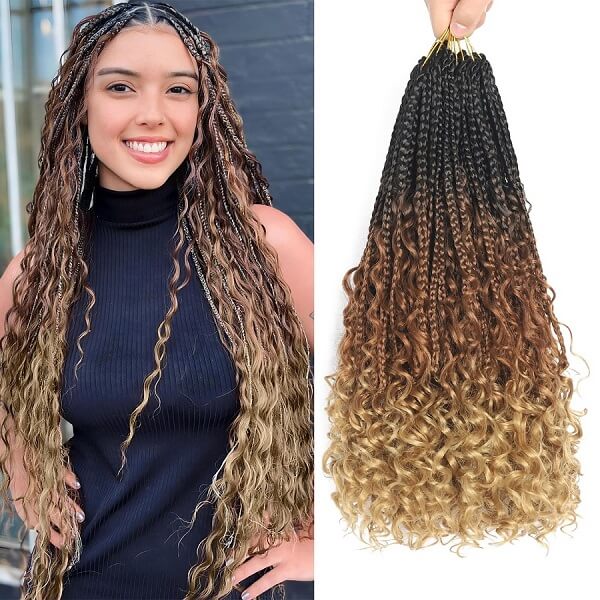
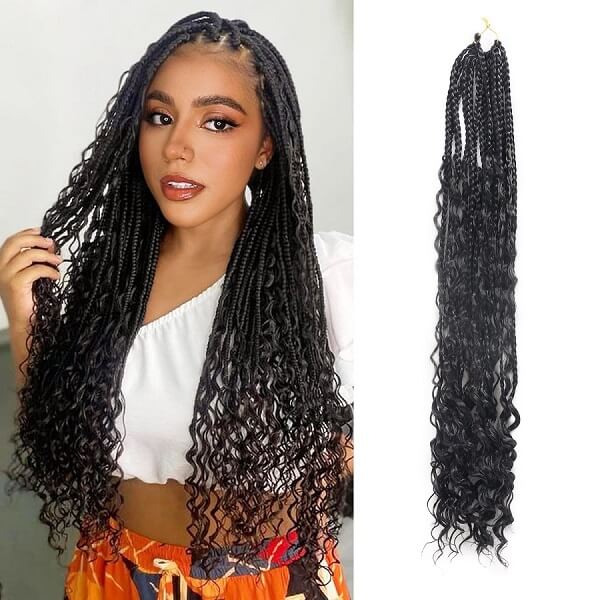
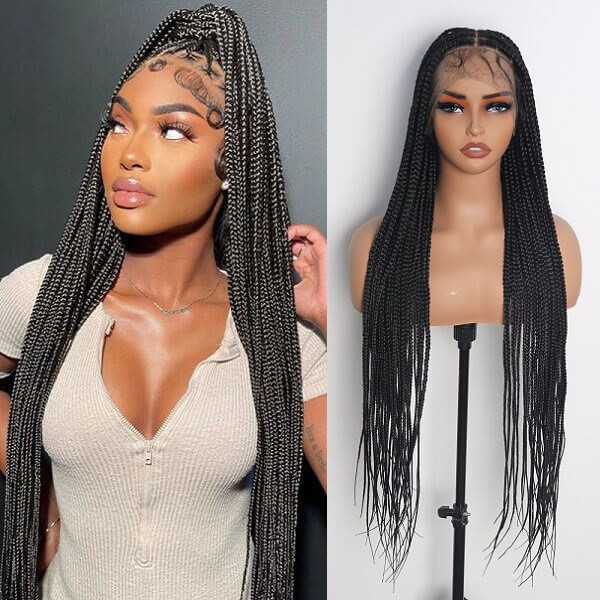
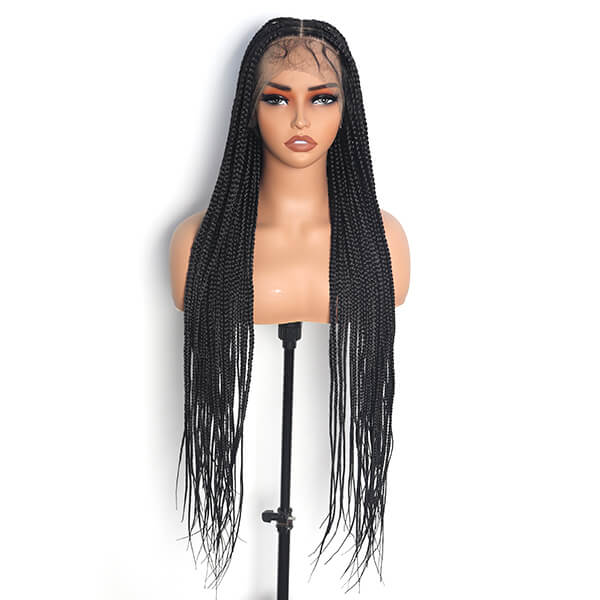
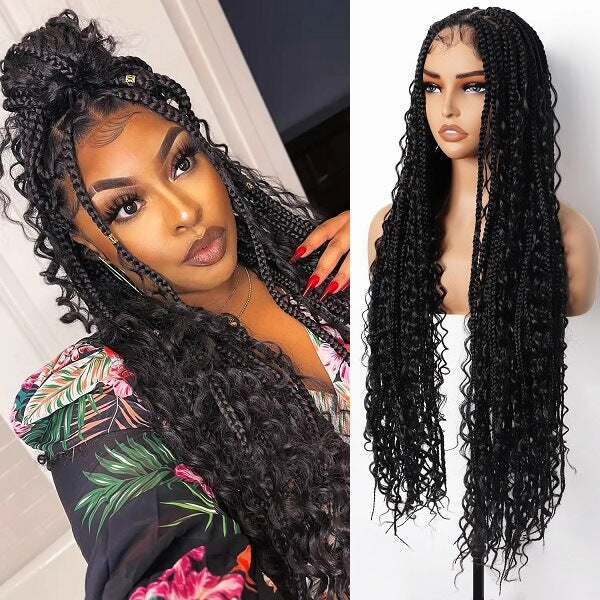
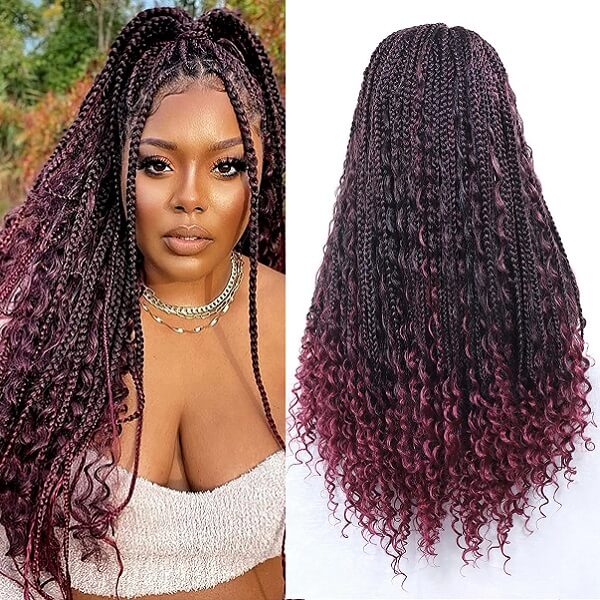
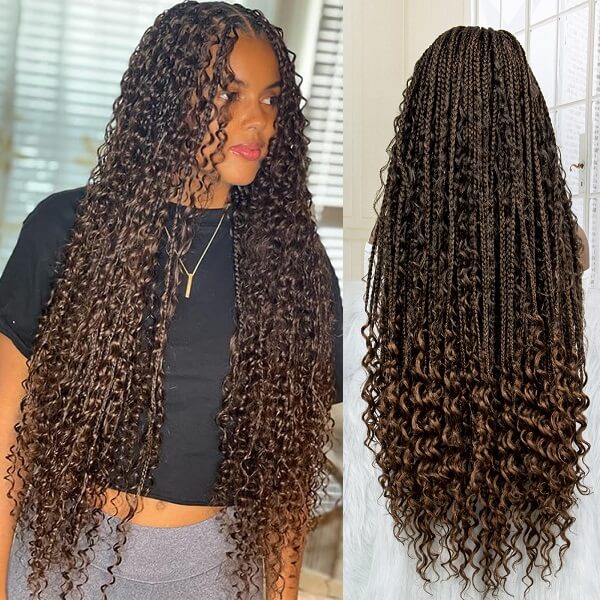
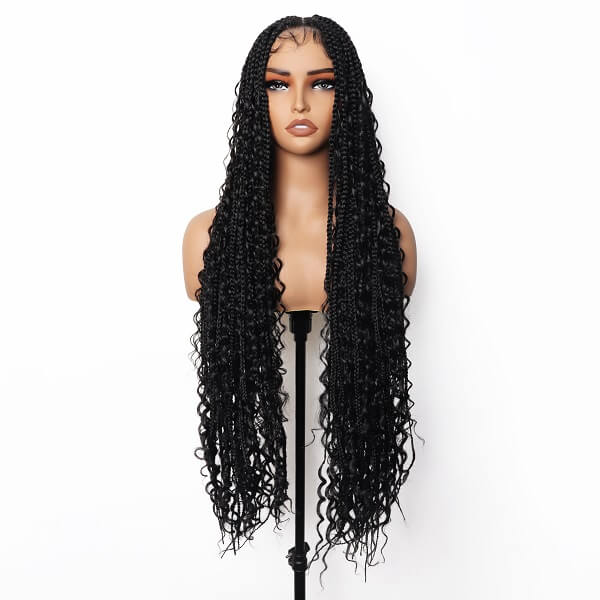
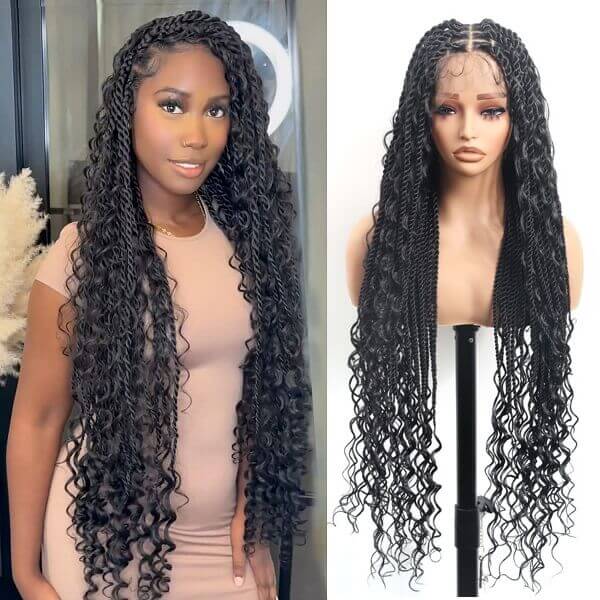
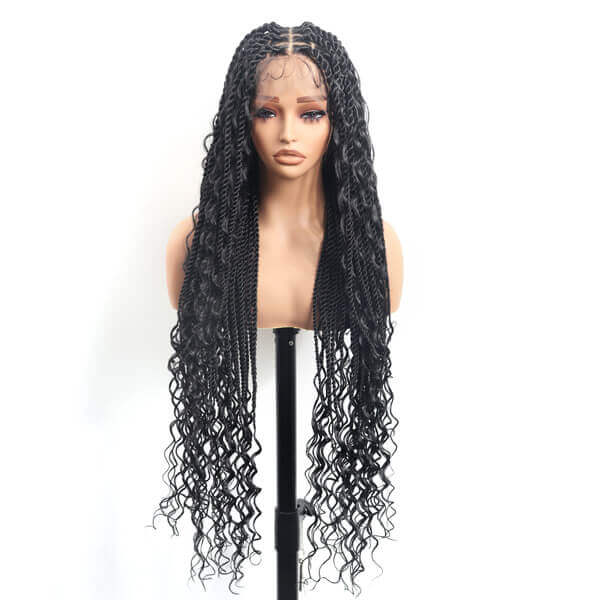
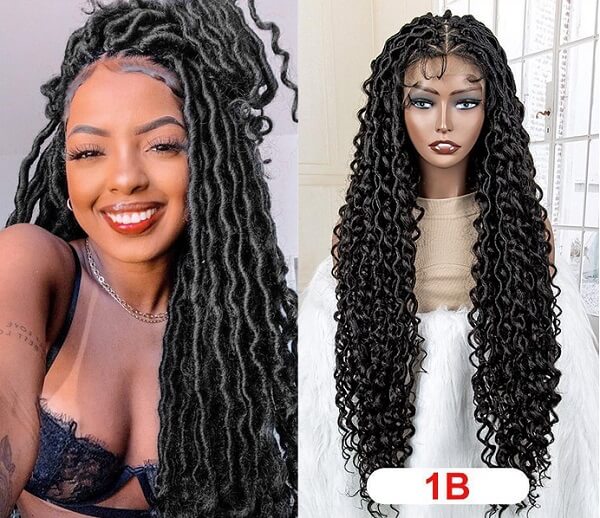
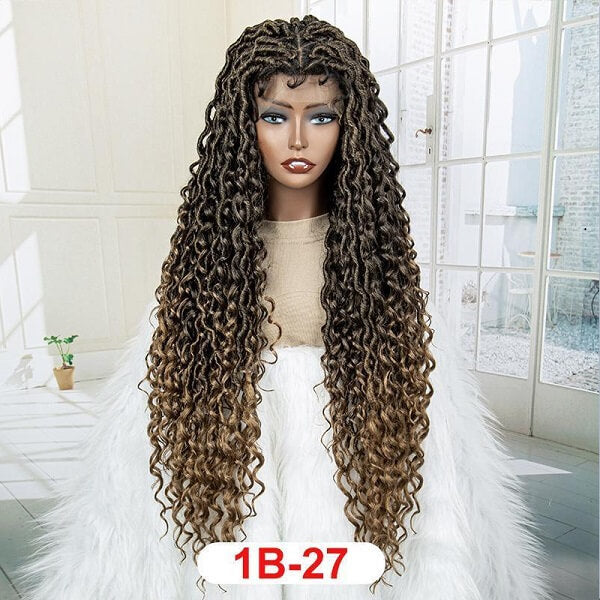
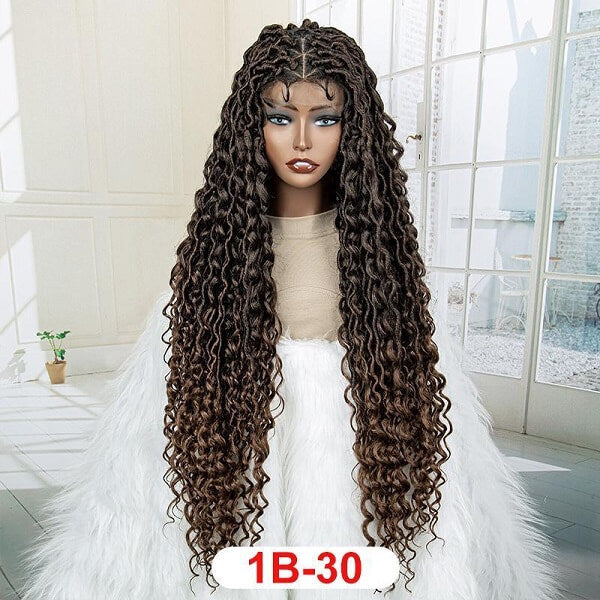
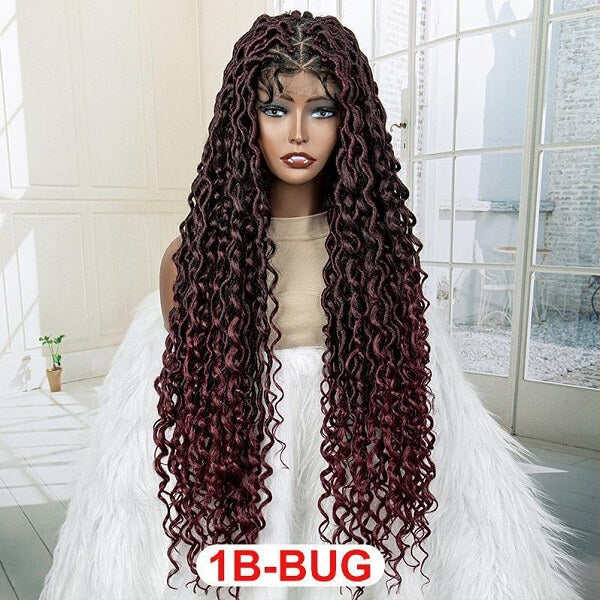
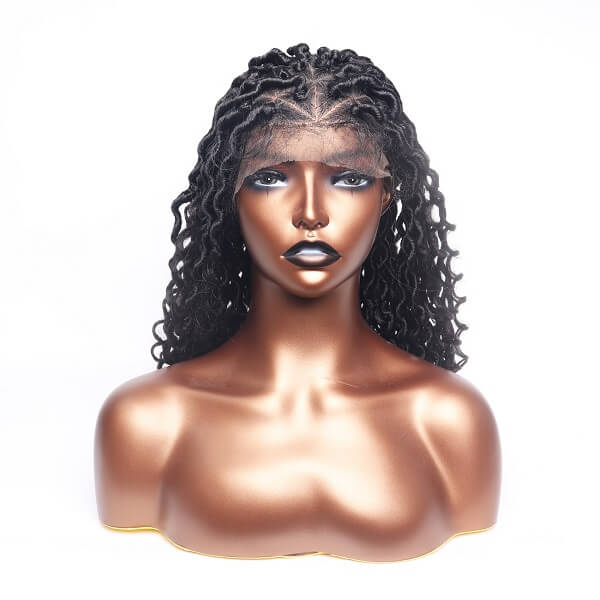
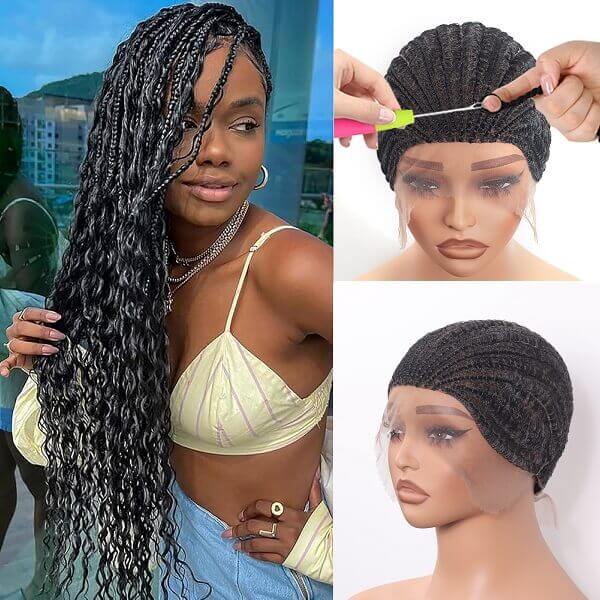
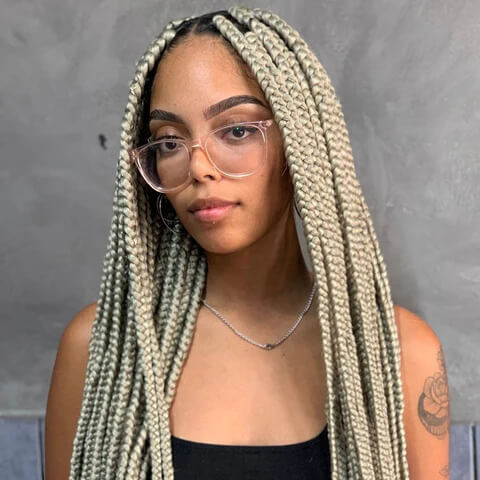
Braided wigs have become increasingly popular due to their convenience and versatility. These wigs offer a quick and easy way to achieve intricate braided hairstyles without the commitment of sitting for hours to have your hair braided. They are perfect for those who want to switch up their look frequently or protect their natural hair.
In this article, we will guide you through the process of making a braided wig, step-by-step. We will cover everything from preparing the wig cap to braiding the hair and securing the ends. Whether you're a beginner or an experienced braider, making your braided wig can be a rewarding and fun experience. Let's dive in!
Materials Needed
To make a lace front braided wig, you will need the following materials:
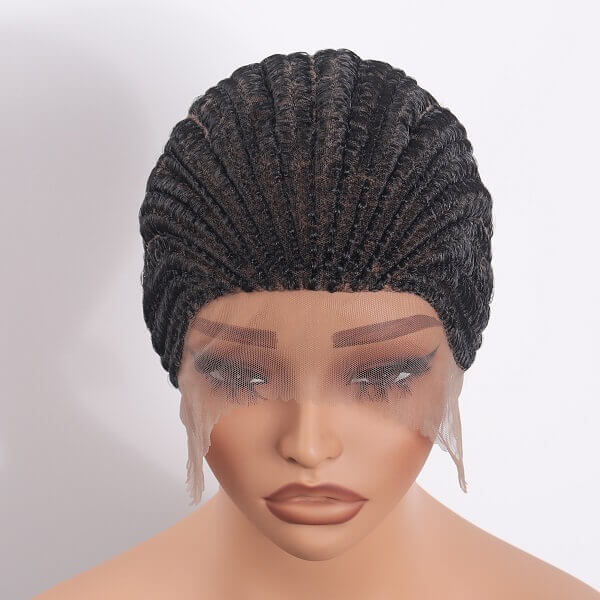
- Wig cap: Choose a wig cap that matches your skin tone and head size for a natural and comfortable look.
- Lace sheer: To sew into the wig cap for a more realistic look along the hairline.
- Braiding hair: Select braiding hair in the color and length of your choice. You may need several packs depending on the desired thickness and length of the braids.
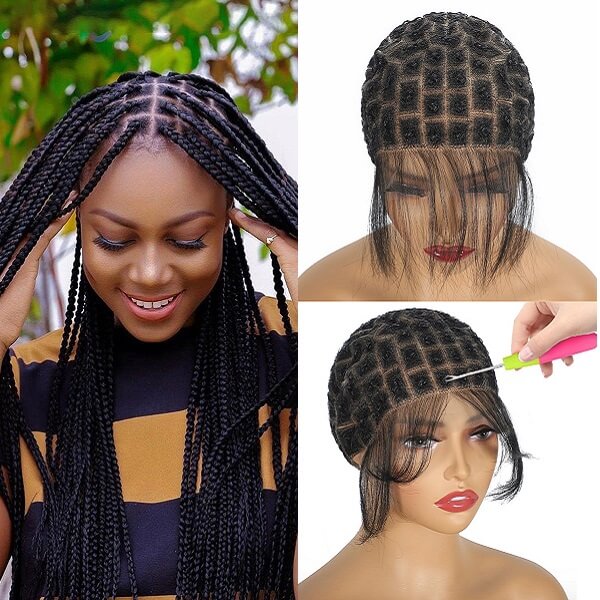
- Crochet needle: Used to attach the braiding hair to the wig cap.
- Scissors: For cutting the braiding hair to the desired length and trimming any excess.
- Wig stand: For securing the wig cap while braiding.
- T-pins: For securing the wig cap to the wig stand while braiding.
Having these materials ready before you begin will ensure that you have everything you need to create a stunning lace front braided wig.
Step 1: Prepare the Wig Cap
Before you start braiding, it's essential to properly prepare the wig cap to ensure a comfortable and secure fit for your braided wig.
1. Choosing the Right Wig Cap Size:
- Measure your head circumference using a flexible measuring tape.
- Select a wig cap size that corresponds to your measurements. Most wig caps come in small, medium, or large sizes.
- If you're unsure about your size, opt for a slightly larger wig cap as you can always adjust it later for a snug fit.
- Ensure that the wig cap matches your skin tone for a seamless and natural-looking finish.
2. Attaching the Lace Sheer:
- Place the lace sheer over the front portion of the wig cap, aligning it with the natural hairline.
- Use sewing pins to secure the lace sheer to the wig cap, ensuring it's flat and taut.
- Thread a needle with matching thread and sew the lace sheer to the wig cap along the edge of the lace, using small, discreet stitches.
- Once the lace sheer is securely attached, trim any excess lace from the wig cap, leaving a small margin around the edge of the lace.
- Using sharp scissors, trim the inner layer of the wig cap along the edge of the lace sheer. Be sure to leave a small margin of the inner layer to prevent fraying.
3. Securing the Wig Cap on a Wig Stand:
- Place the wig cap on a wig stand to stabilize it during the braiding process.
- Adjust the wig cap to sit evenly on the wig stand, ensuring that it's stretched taut and without any wrinkles.
- Use T-pins or clips to secure the edges of the wig cap to the wig stand, ensuring it stays in place while you braid.
- Ensure that the wig cap is positioned at a comfortable height for you to work on and easily access all areas for braiding.

Step 2: Prepare the Braiding Hair
Before you begin braiding your wig, it's crucial to prepare the braiding hair properly, especially for a hand-tied lace wig, where each hair strand is individually attached to the wig cap mesh.
1. Understanding Different Types of Braiding Hair:
- Synthetic Braiding Hair: Affordable and available in various colors and textures, synthetic braiding hair is a popular choice for creating intricate braided styles.
- Human Hair Braiding Extensions: Offering a more natural look and feel, human hair braiding extensions can be styled and colored to match your preferences.
- Pre-Stretched Braiding Hair: Easier to work with and reduces braiding time, pre-stretched braiding hair is ideal for achieving sleek and neat braids.
- Expression Braiding Hair: Known for its softness and flexibility, expression braiding hair is easy to use and suitable for a wide range of braided looks.
2. Choosing the Right Braiding Hair:
- Consider the length, thickness, and texture of the braids you want to achieve.
- Select a color that complements your natural hair color or desired style.
- For a hand-tied lace wig, ensure the braiding hair is of high quality and can withstand the hand-tying process.
3. Preparing the Braiding Hair for a Hand-Tied Lace Wig:
- Section the braiding hair into small sections.
By properly preparing the wig cap and braiding hair, you'll create a stable and comfortable foundation for the further hand-typing process, making it smoother and more manageable, resulting in a beautifully hand-tied braided wig.

Step 3: Attaching Braiding Hair
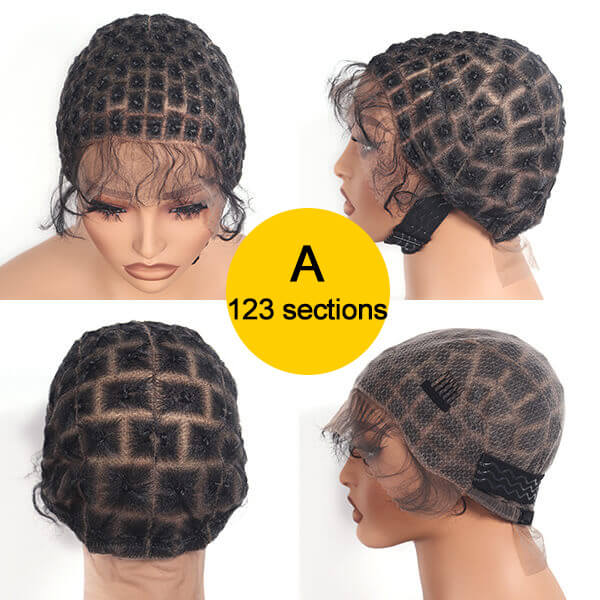
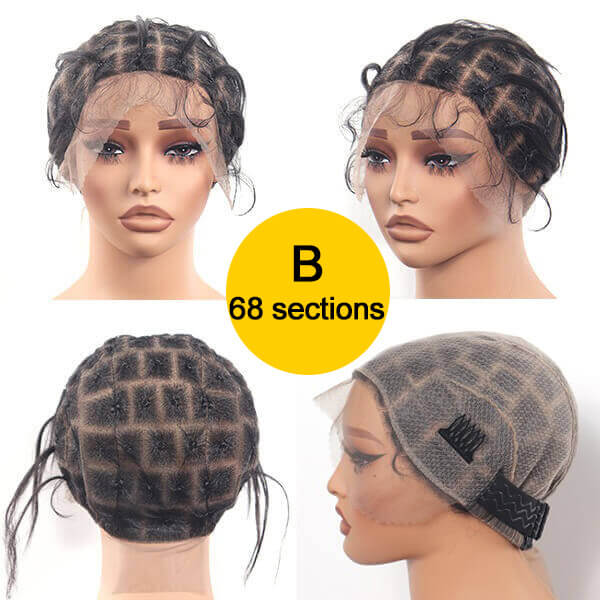
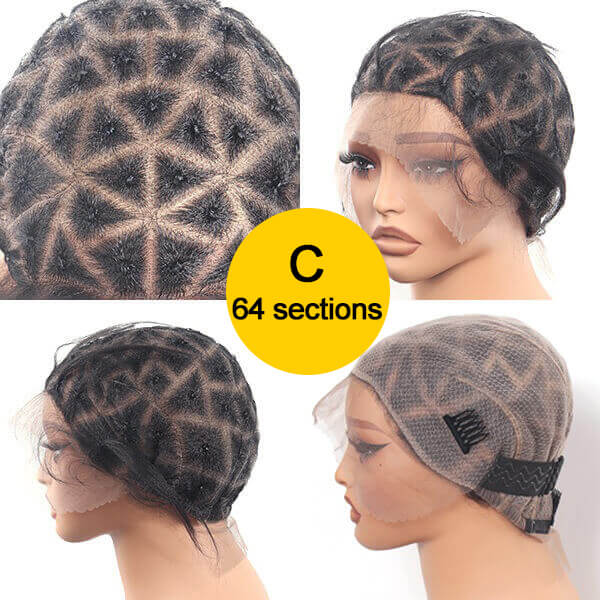
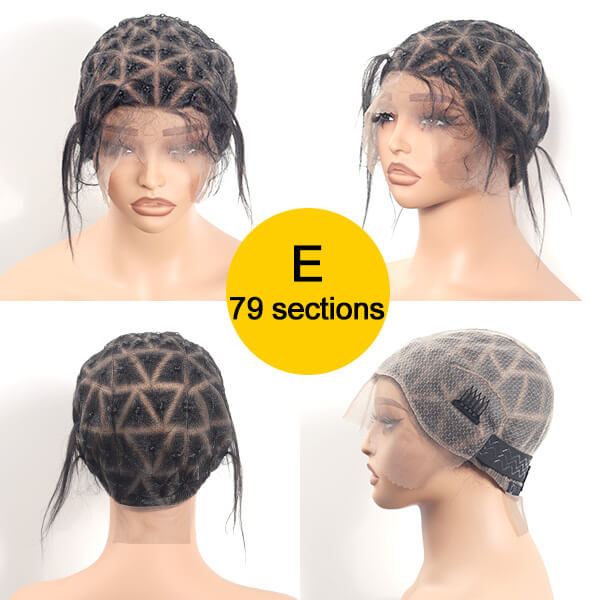
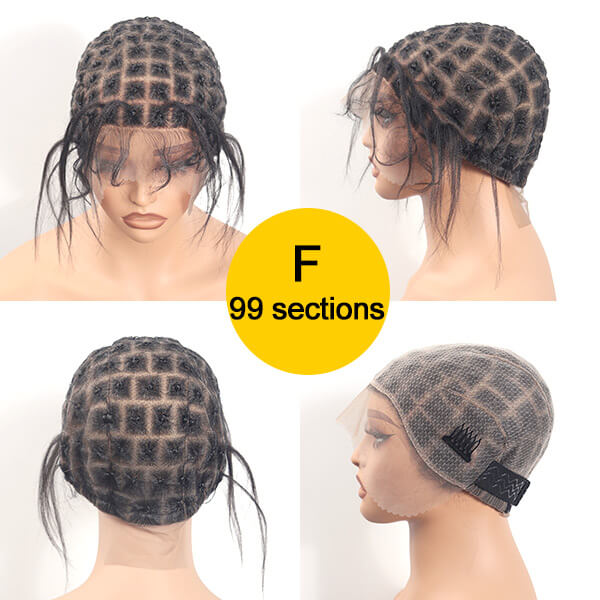
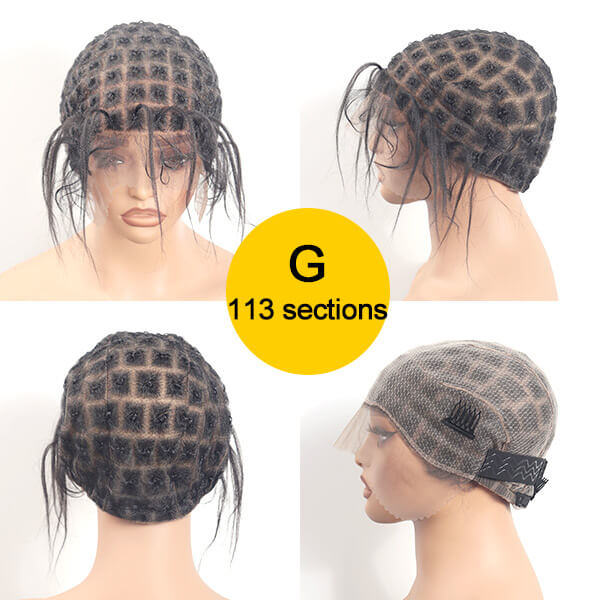
1. Sectioning the Wig Cap:
- Divide the wig cap into small, manageable sections using chalk.
- Start at the back and work your way up to the front for a more organized braiding process.
2. Attaching Braiding Hair with a Crochet Needle:
- Take a small section of braiding hair and fold it in half.
- Insert the crochet needle under a section of the wig cap where you want to start the braid.
- Hook the folded end of the braiding hair with the needle and pull it through the wig cap, creating a small loop.
- Thread the loose ends of the braiding hair through the loop and pull tight to secure it to the wig cap.
- Repeat this process, mimicking the natural hair-growing appearance as you attach each braiding hair to the mesh.
- Take your time with each strand, ensuring a hand-tied, section-by-section approach for the most authentic appearance.
- Patience, precision, and dedication are key to achieving the desired result, so take your time and enjoy the process.
Step 4: Braiding Techniques and Patterns:
- Box Braids: Begin by dividing the braiding hair into three equal sections. Cross the right section over the middle section, then the left section over the middle section. Continue alternating sides as you braid down the length of the hair, securing the ends with a rubber band.
- Cornrows: Start by dividing the braiding hair into small sections. Begin braiding close to the scalp, adding more hair from each side as you progress. Continue this pattern until you reach the desired length, securing the ends with a rubber band.
- Twists: Divide the braiding hair into two equal sections. Twist the two sections around each other, starting from the roots and working towards the ends. Secure the ends with a rubber band or hair clip.
- Knotless Braids: Unlike traditional braids, knotless braids have no knot at the root and gradually incorporate extensions, resulting in a sleeker and more natural look. Begin by sectioning the hair and adding extensions gradually as you braid, ensuring that there are no visible knots or bumps along the length of the braid.
Tips for Neat Braids:
- Apply a small amount of edge control or gel along the hairline to keep the braids looking neat and prevent frizz.
- Maintain consistent tension while braiding to avoid loose or uneven braids.
- Trim any stray hairs or uneven ends to maintain a clean and polished look.
- Take breaks as needed to prevent hand fatigue and ensure that the braids are done carefully and accurately.
Step 5: Style and Finish
After completing the braiding process, it's time to style and finish your braided wig to achieve the desired look and ensure its longevity.
Styling the Braided Wig:
- Use a wig brush or a wide-tooth comb to style the braids and create your desired parting.
- For a sleek look, apply a small amount of styling gel or edge control along the edges of the wig.
- Experiment with different styling options, such as updos, ponytails, or side-swept styles, to change up your look.
Maintaining and Caring for the Braided Wig:
- Store your braided wig on a wig stand or mannequin head when not in use to maintain its shape and prevent tangling.
- Avoid exposing the wig to high heat, such as from hair dryers or curling irons, as this can damage the braiding hair.
- Use a wig conditioner or leave-in conditioner to keep the braiding hair soft and manageable.
- Gently wash the wig with a mild shampoo and lukewarm water when needed, taking care not to rub or tangle the braids.
- Allow the wig to air dry naturally, avoiding direct sunlight or heat sources.
By following these styling and maintenance tips, you can ensure that your braided wig looks beautiful and lasts longer, allowing you to enjoy your new hairstyle for weeks to come.

Conclusion:
In this guide, we've walked through the process of creating your braided wig. You sure know that DIY a braided wig is such a time-consuming project that requires patience and dedication. From preparing the wig cap to styling the finished product, each step requires careful attention to detail. However, if you're looking for a quicker and more convenient alternative, MyBraidedWig offers premium braided wigs that are hand-tied and hand-braided, providing a hassle-free solution to achieve stunning braided hairstyles.
Our braided wigs are crafted with Japan-made fiber, full HD lace, and meticulous attention to detail, ensuring a natural appearance, premium wearing experience, and longer lifespan compared to others. Each wig is a testament to the quality and craftsmanship that goes into every MyBraidedWig product.
If you're ready to elevate your hairstyle with a premium braided wig without the time and effort of DIY braiding, we invite you to explore the full range of options available at MyBraidedWig.com. From classic styles to trendy looks, we have something for everyone. Visit us today and discover the perfect braided wig to complement your unique beauty.
Related Articles:
Knotless Braids Vs. Knot Braids
How To Do Knotless Box Braids?

